Capture at appraisal.
Halo guides 15 close-range photos and sends them to the vAuto appraisal. Your team can review that visual record after the customer’s visit.

Read the complete walkthrough ↓
Inside Halo
Follow the original capture through the vehicle cutouts to the finished photos. Then explore capture links and presentation controls.
Connected from appraisal to listing
See how your appraisal record becomes a finished listing set.
Halo guides 15 close-range photos and sends them to the vAuto appraisal. Your team can review that visual record after the customer’s visit.
Stock-in automatically triggers the conversion of the 15 appraisal images into eight primary presentation views.
Your connected Boost or HomeNet feed automatically delivers the eight presentation images to your website and the listing sites it serves.
We confirm your store’s connections before launch. Publication follows processing, Halo quality checks and the connected feed’s delivery schedule.
One vehicle. Two uses.

After recon and detailing, make a fresh capture to show the vehicle as it looks now. For new inventory, begin at arrival or stock-in.
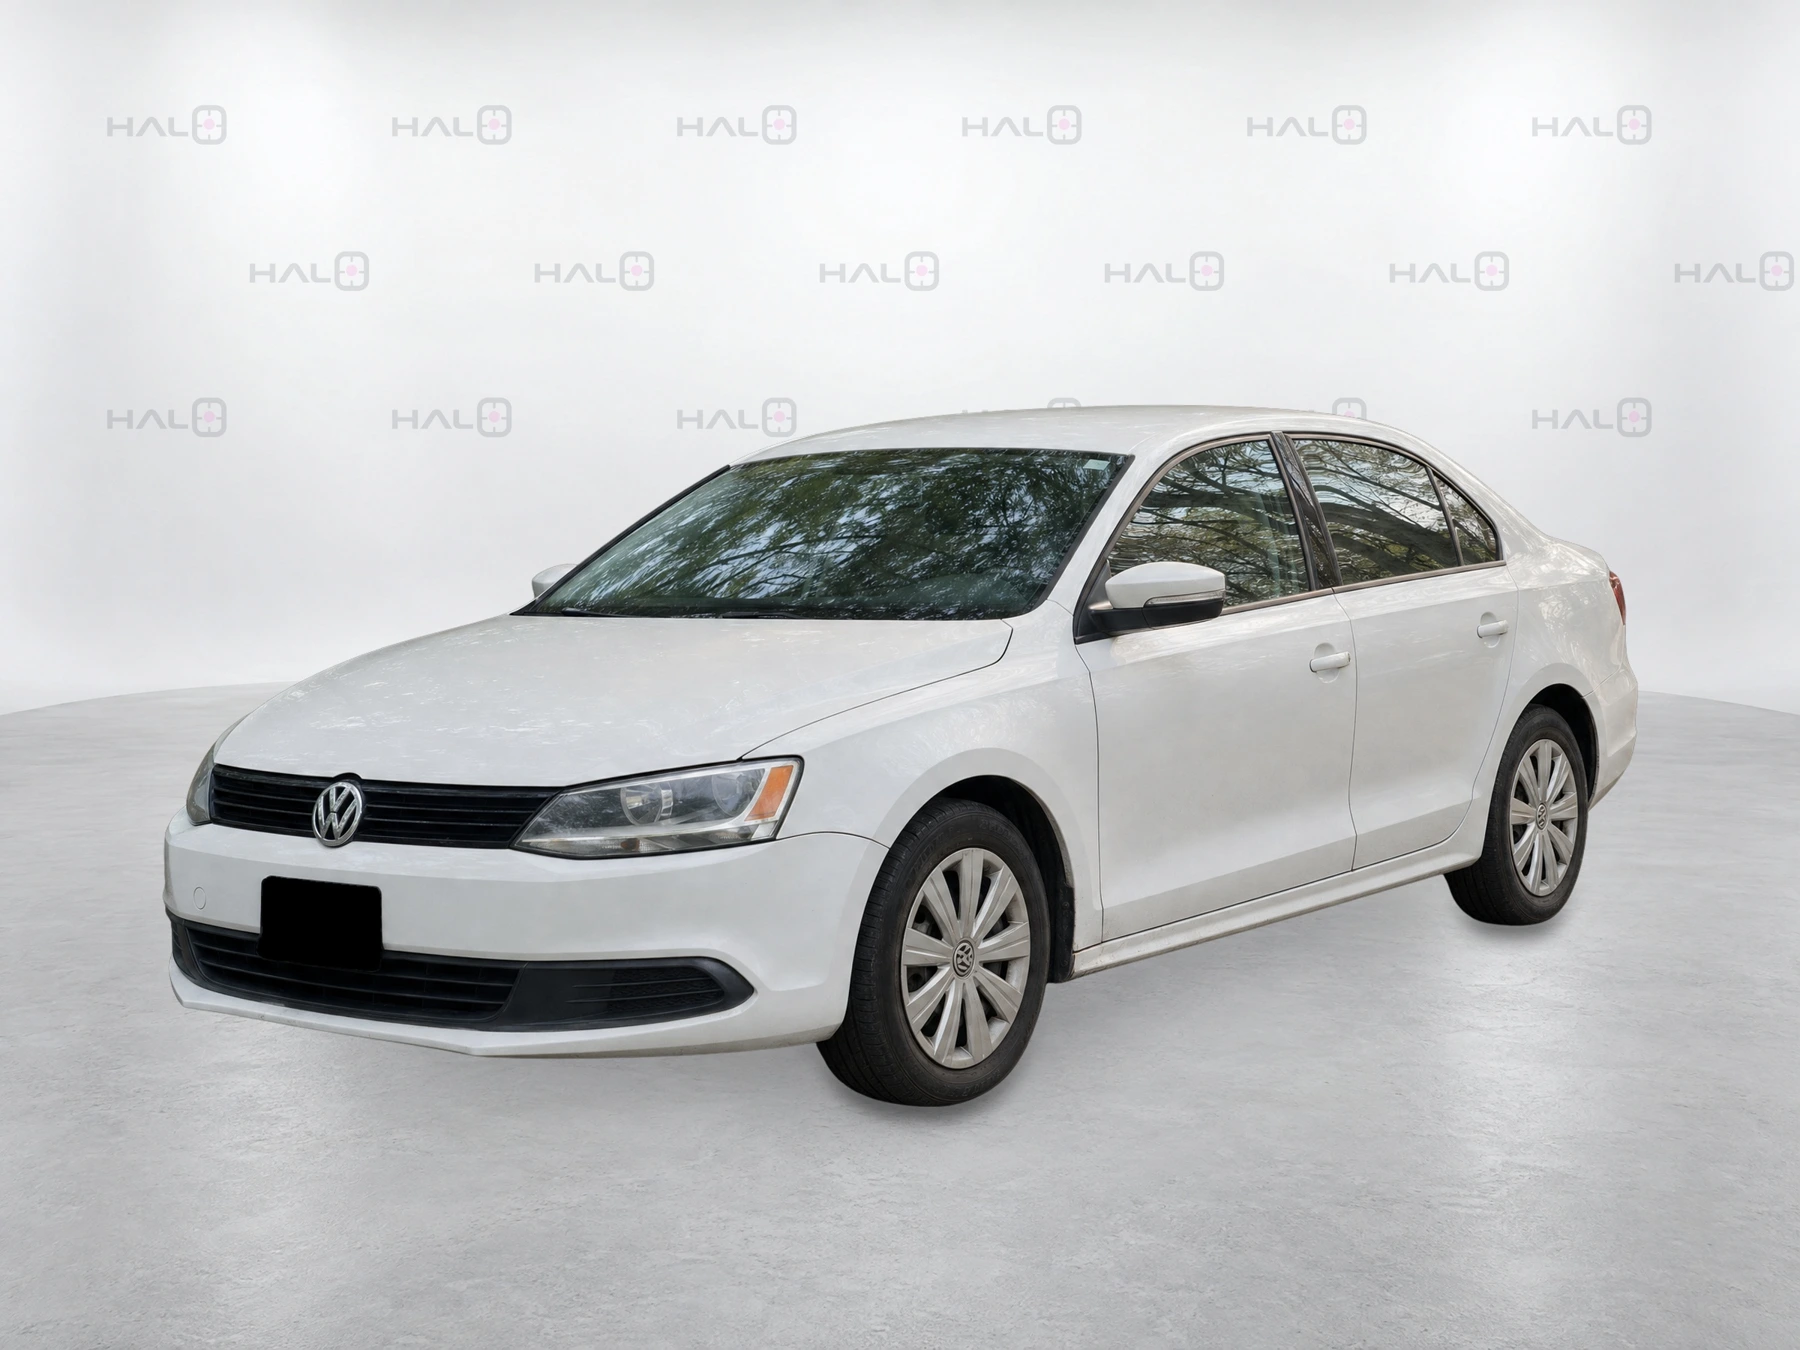
Follow the same steps shown in the interactive demo. The transformation example uses a silver Honda CR-V; the appraisal-to-listing example above uses a white Volkswagen Jetta.
Review the close-range source photos received from the Capture PWA.
Silver Honda CR-V · Original capture photos. View screenshot: Original capture photos
The Stitching tab shows the eight transparent vehicle views before the dealership background and branding are applied.
Same silver Honda CR-V · Vehicle cutouts before presentation. View screenshot: Eight transparent vehicle views
The Presentation tab shows the same silver Honda CR-V in all eight finished views, with the dealership background and branding applied.
Same silver Honda CR-V · Finished presentation with dealer branding. View screenshot: Finished presentation example
Open Capture links, choose Create Capture Link, and enter a person, department or partner name. Select Create Capture Link when ready.
Configuration preview · Link creation was not submitted. View screenshot: Name the capture link
After creating the link, choose View QR and link. Your team can scan the QR code with their phones, or you can use Copy URL and share it through your usual team channel. Open Capture Link opens the capture experience.
Edited screenshot · QR altered for display; capture URL hidden. View screenshot: Share with your team
Open an existing link's Settings. Set an operator when available, a session limit or expiry; choose Save settings to apply.
Existing link · Session and expiry controls. View screenshot: Control future sessions
Open Image Presentation. Choose a dealer background or a Halo studio preset. Apply background saves the selection for future presentation runs.
Image Presentation · Background options. View screenshot: Choose a background
Soft White Studio is selected here. The account also accepts an empty background, a logo and a bottom banner as separate assets.
Soft White Studio · Selection preview. View screenshot: Preview a studio
Preview your logo and banner. Adjust vehicle size, horizontal position, ground level and shadow strength. Choose an all-view layout or adjust one view.
Sample vehicle · Layout preview. View screenshot: Set the vehicle layout
Switch angles to inspect the presentation. Save & lock placement stores your layout for future runs.
Sample vehicle · Side-view preview. View screenshot: Check the other views
Review your capture process, delivery connections and six-week pilot in 30 minutes.


